4 minutes reading time
Ad hoc distribution lets developers install internal builds of iOS apps on up to 100 registered devices of a type per year. My clients mostly run video software on iPhones and iPads. This page contains notes I used when adding devices and distributing apps to beta users.
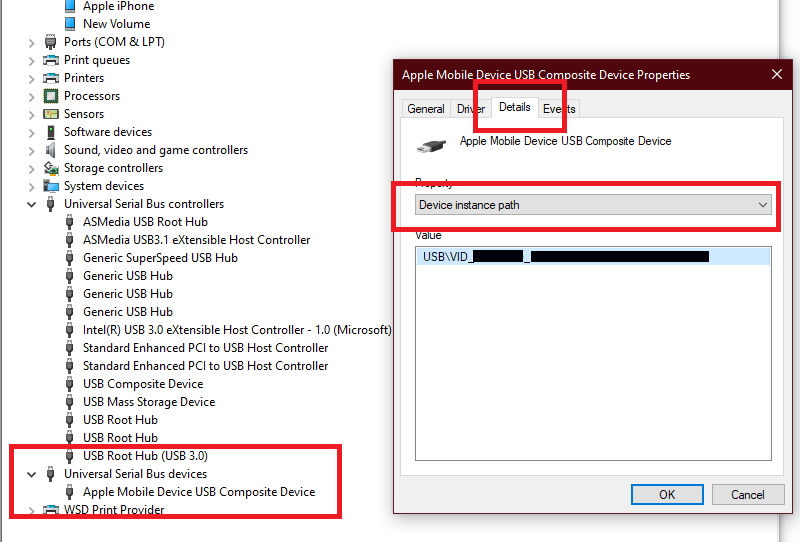
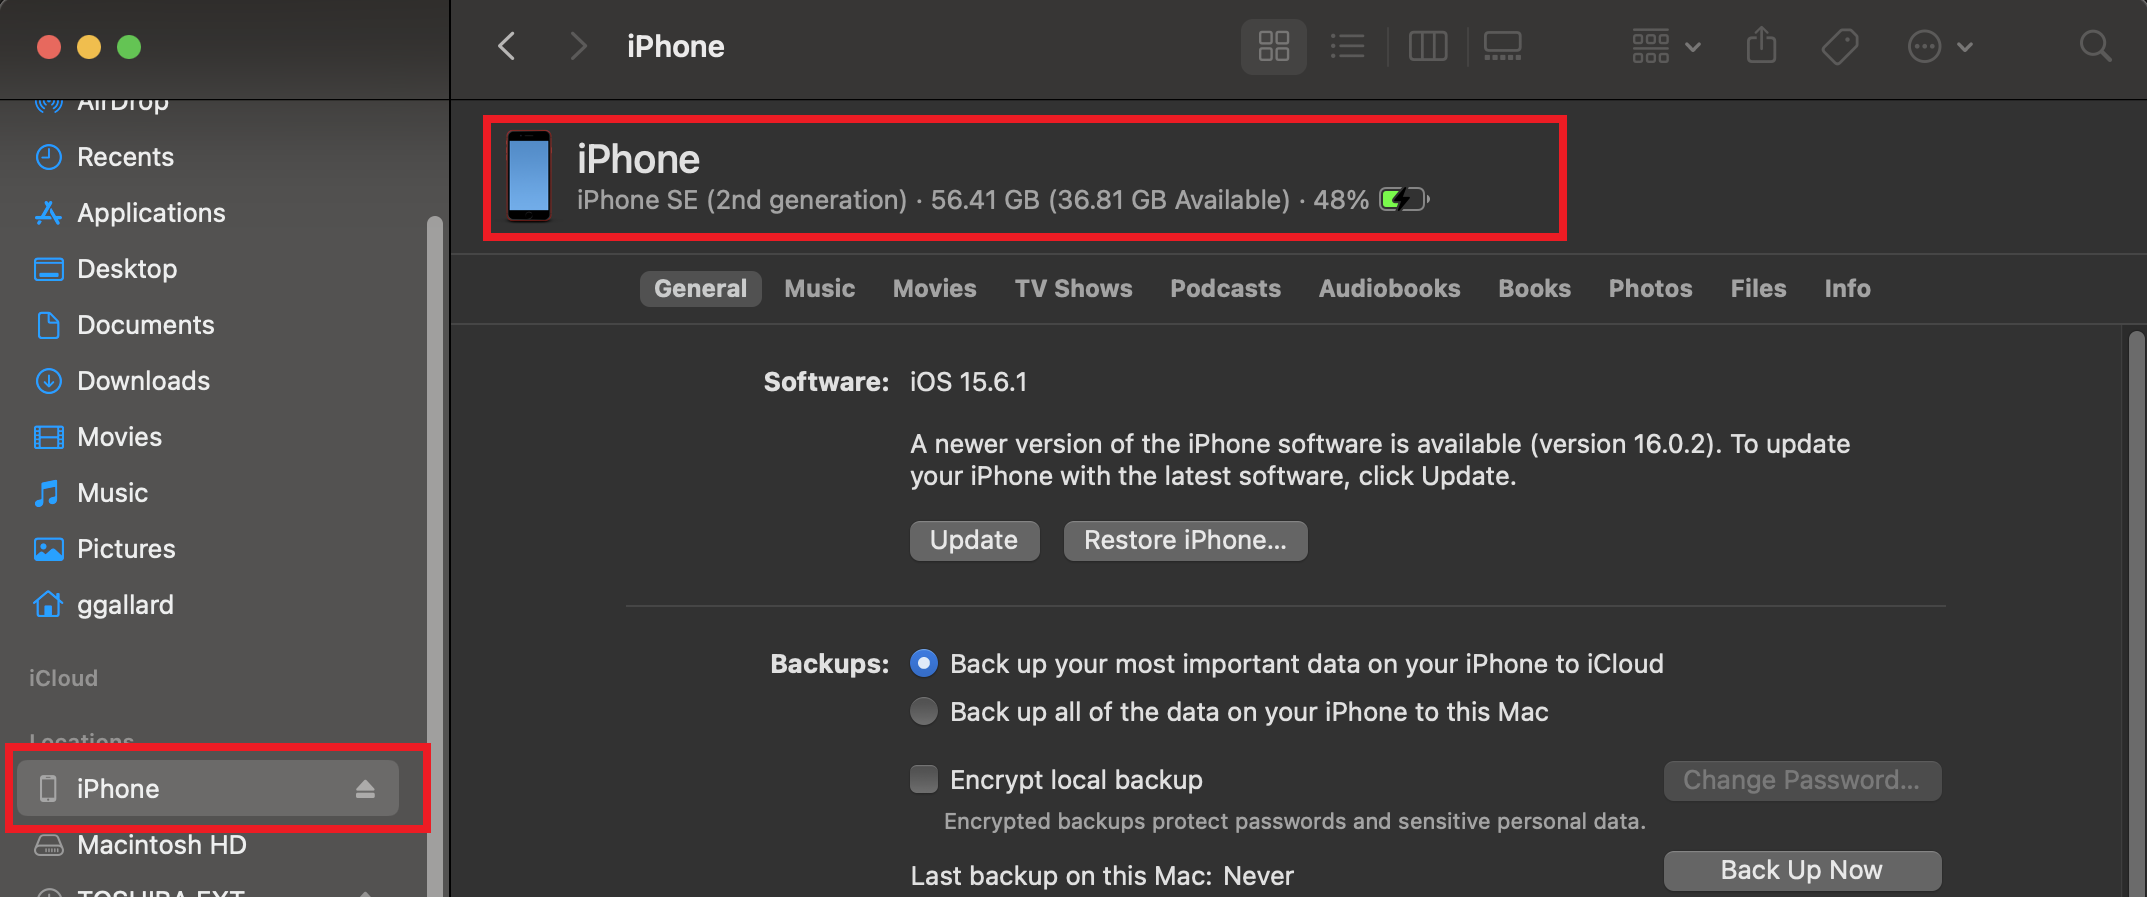
Devices are added to your account at https://developer.apple.com. In order to add a device, you need its UDID. The UDID is different from the Serial Number or IEMI. There are several ways of obtaining the UDID. I use Device Manager on Windows 10 and Finder on macOS.

Log into your developer account at Apple and add to the device list
.ipa With XCodeAny iOS Device (arm64) 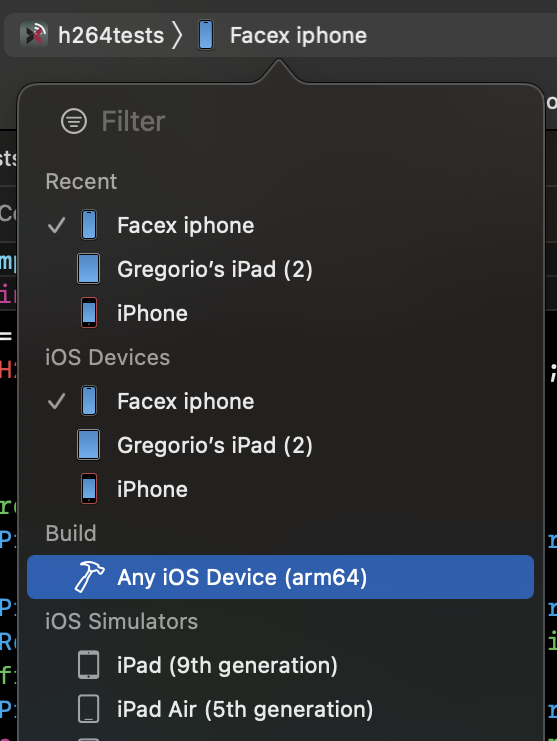
Product menu and select Archive. This tells XCode to build an archive for distribution.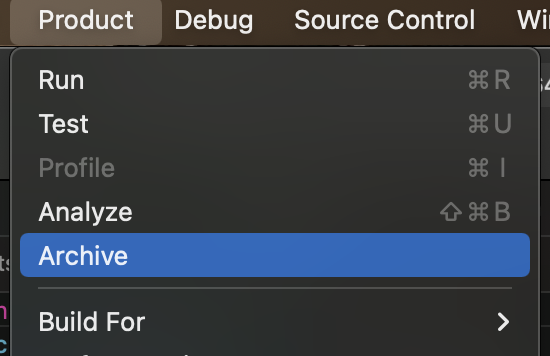 This may take awhile.

Next 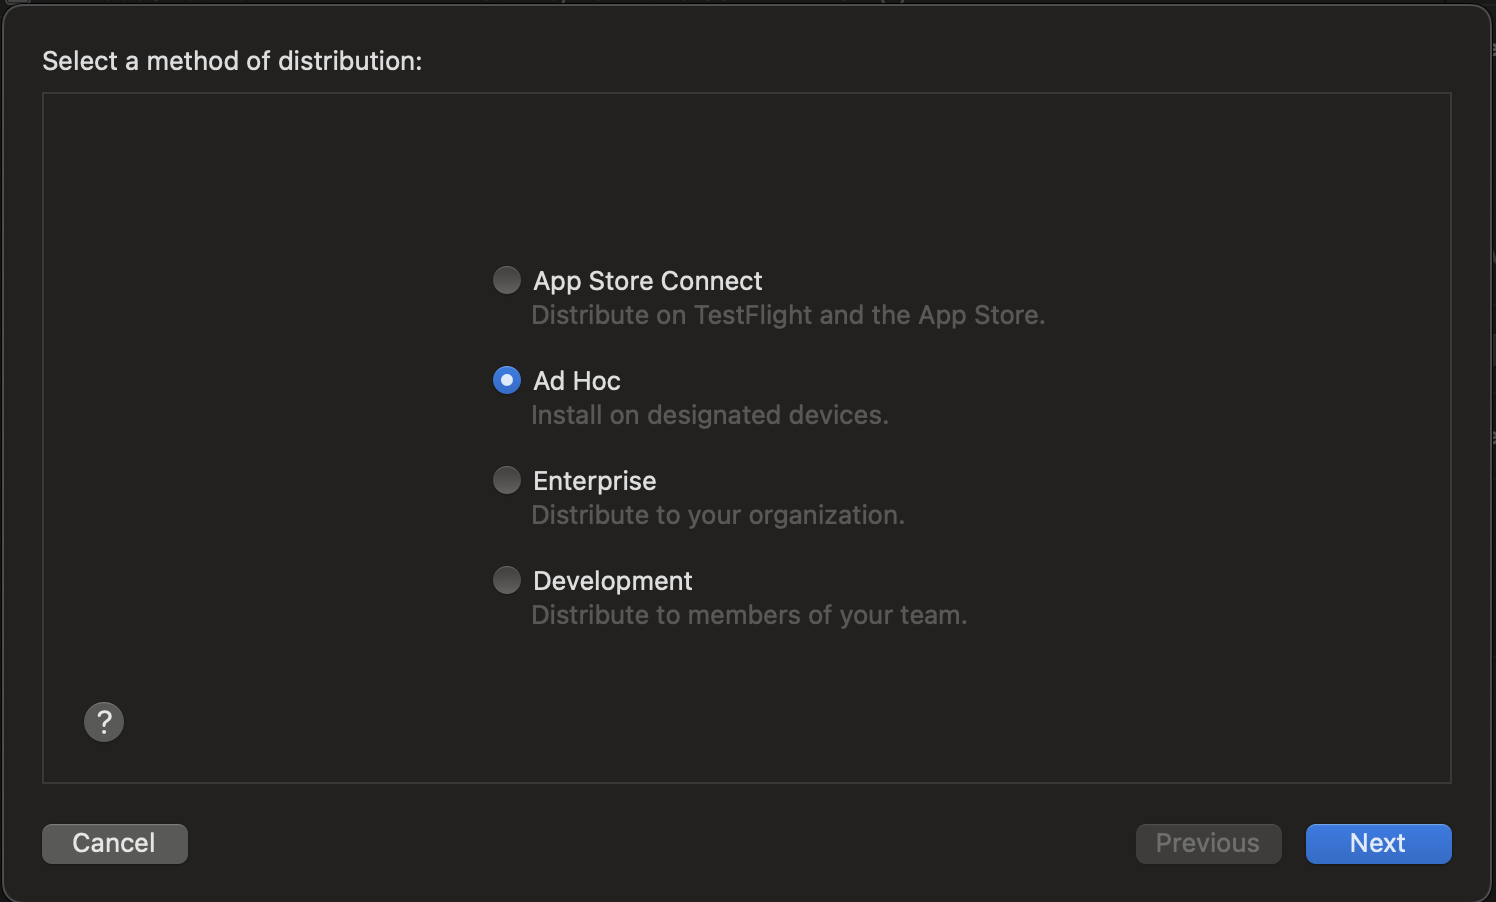
 and press
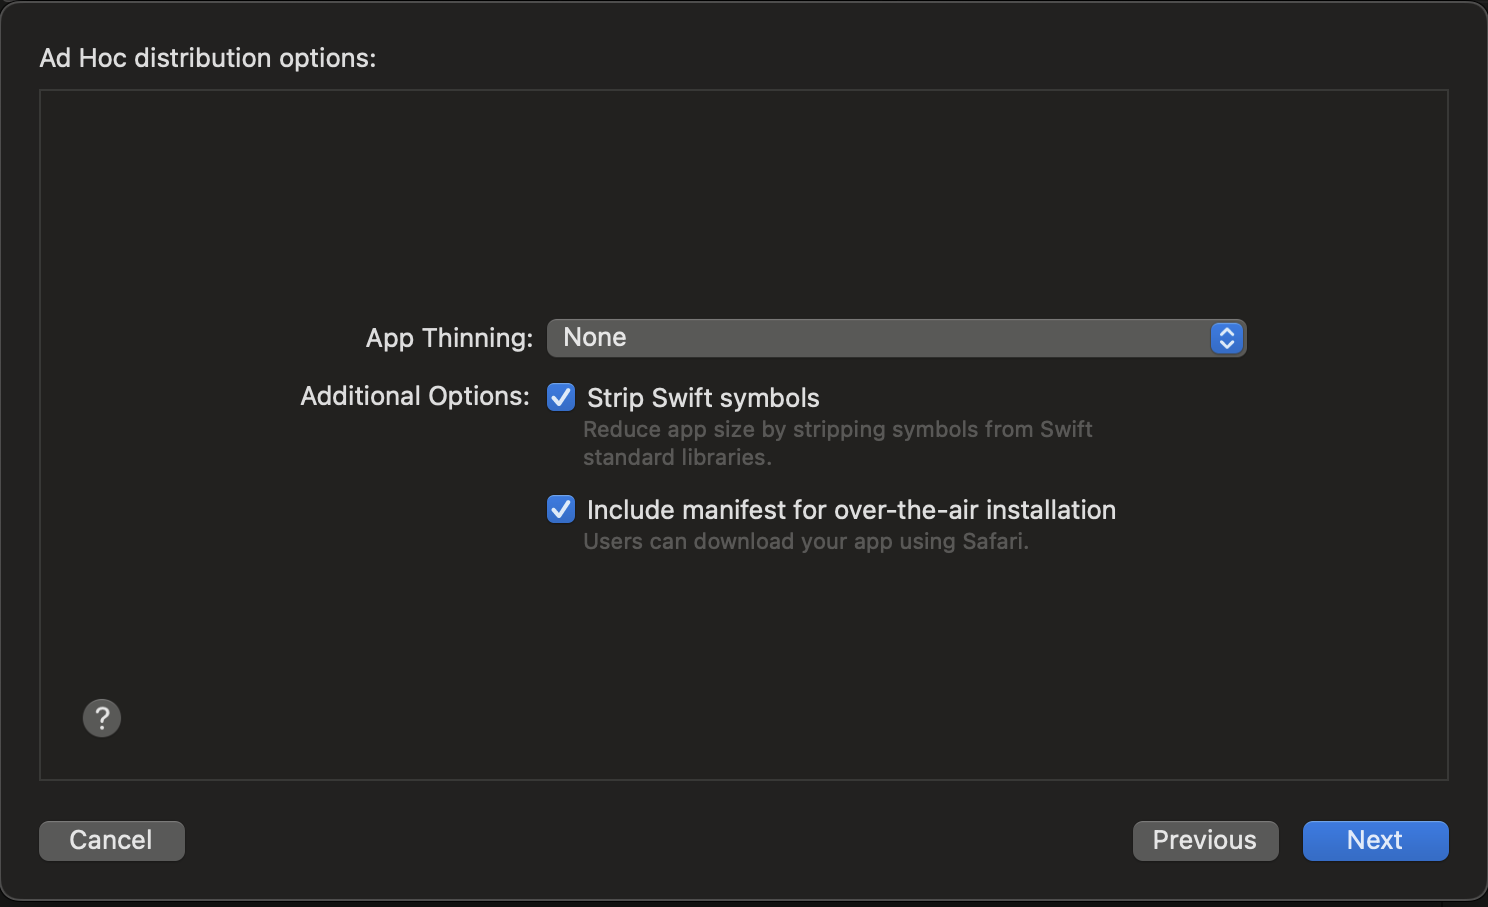
 Next
 and press
 NextNext 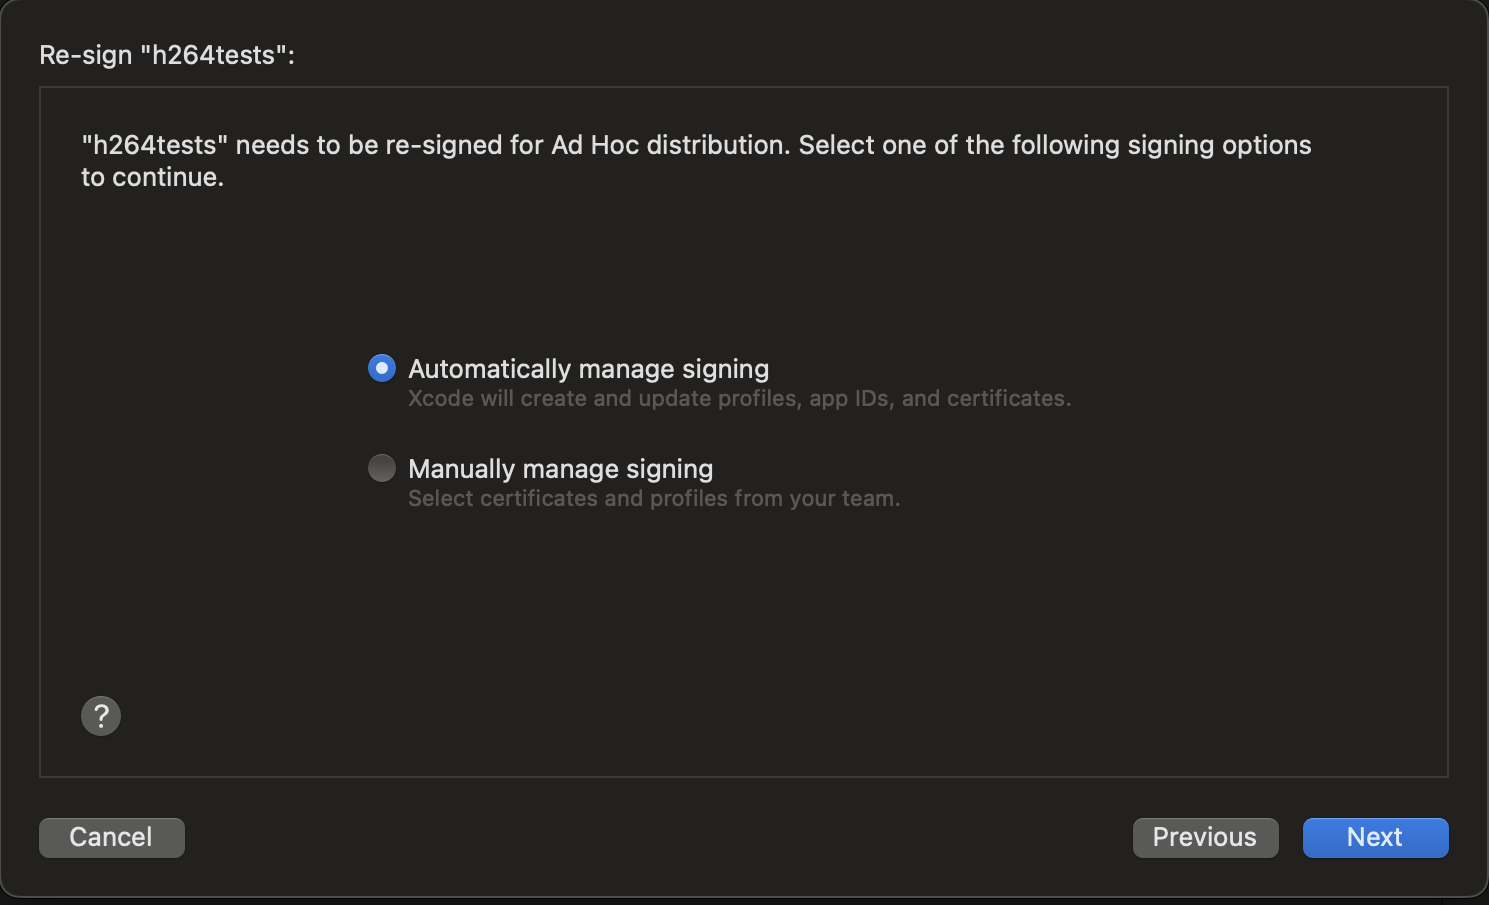 XCode will connect with Apple's servers to sign the distribution files. This may take a long while.
When it finishes, it will list information about the App. Press Export to select the output folder location.
After exporting the app, you'll have a folder containing the files for distribution. Transfer the generated files to your webserver for distribution. On your server, you'll need to make sure names match the files mentioned in manifest.plist.
You can use any web server to deploy the app. For simple deployments, I just use Python 3.
A quick and dirty web server with SSL can look like this:
from http.server import HTTPServer, BaseHTTPRequestHandler, SimpleHTTPRequestHandler
import ssl

httpd = HTTPServer(('0.0.0.0', 3000), SimpleHTTPRequestHandler)
httpd.socket = ssl.wrap_socket (httpd.socket,
        keyfile="../privkey.pem",
        certfile='../cert.pem', server_side=True)

httpd.serve_forever()
Use <a href="itms-services: to create a link to download your app to an iOS device.
<!DOCTYPE html>
<html>
	<head>
		<title>Test Mobile Apps</title>
	</head>
	<body>
		<p>Test Video Stream App</p>
		<a href="itms-services://?action=download-manifest&url=https://www.greggallardo.com/apps/fxvs/manifest.plist">Install App</a>
	</body>
</html>
The directory structure for this server looks like this:
deploy@bossy:~/ios$ find .
.
./server.py
./privkey.pem
./server
./server/index.html
./server/apps
./server/apps/fxvs
./server/apps/fxvs/facex_logo_75.png
./server/apps/fxvs/Packaging.log
./server/apps/fxvs/ExportOptions.plist
./server/apps/fxvs/manifest.plist
./server/apps/fxvs/DistributionSummary.plist
./server/apps/fxvs/facex_logo_512.png
./server/apps/fxvs/FXVideoStreamer.ipa
./cert.pem